
Are you looking for an easy go to sourdough loaf?
When I first started with sourdough, I was convinced that it was needy and I would probably kill it.
My sister assured me, I would not kill it and I could do it! So, I jumped in.
She sent me a starter in the mail. A starter she was diligently nurtured daily, growing and collecting until she perfected a starter.
Feeling blessed but also a little pressure not to kill it, I studied and researched everything I could about growing and keeping a starter.
She sent me a link to http://www.aroundthefamilytable.com and said, follow Glenda’s instructions. Glenda is also a trim healthy mama, so you will enjoy her other recipes too!
I received my starter and my sourdough journey had begun.
I definitely was a helicopter mom with it!
I have not looked back. I wish I would have jumped in sooner.
Here’s the thing. I think there is a zillion websites, pinterest and fb pages on sourdough. You definitely have many options on what do to with sourdough starter.
As much as I love to play in the kitchen, baking is not one that I love. I love to cook. I love to create food.
We are homesteaders. I need an everyday loaf. I toss it together. I ferment it at least 7 hours (this is necessary for the gut health factors and for the THM lifestyle). I need to bake and go!
Viola! Bread for the week.
Here’s what I found.
When I want to bake bread, I take my starter out the night before and set it on the counter. The next day, it will get fed three times. Usually when I get up, at lunch and dinner. However, there are times when it’s when I get up, 3pm and before going to bed! It really is an easy keeper.
To make sure I get at least a 7-hour ferment in and I am not up until midnight baking, I will make bread dough when I get up. I am an early riser and my day usually starts between 5 and 5:30. I also like to plan my evening meal so I can enjoy a delicious meal with a slice of warm sourdough.
However, I want to stress, this process needs to be easy and forgiving!! We are a homestead! Most days do not go as scheduled!!
I will also make my bread dough at night. I will then set it in a cooler room, such as the basement kitchen, to ferment overnight. I have also put it in the fridge for 24 hours because something happened, and I could not get to it!
If in fridge overnight, I will let it sit on the counter for a couple hours to bring back to room temperature.
So as you can see, I am not a fancy sourdough girl. Yes, I have the tools. Yes, I have the clay baker. Yes, I can score it beautifully with some type of design. But honestly, I just need a good loaf of bread for the week.
Here’s what I do for my everyday loaf. I usually x4 the batch as I need it for us and others. I can fit 4 loaf pans across the top of my oven. So, win, win!
Loaf Pan – 8×4 Lodge Cast Iron.
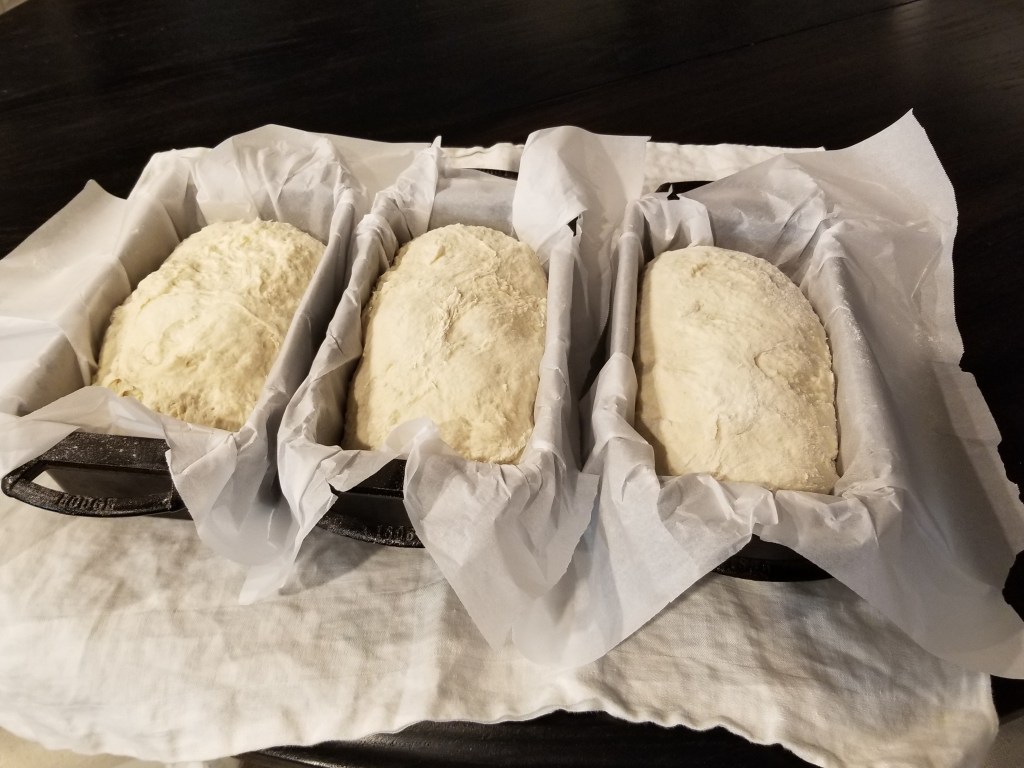
Loaf pan, lined with parchment paper.
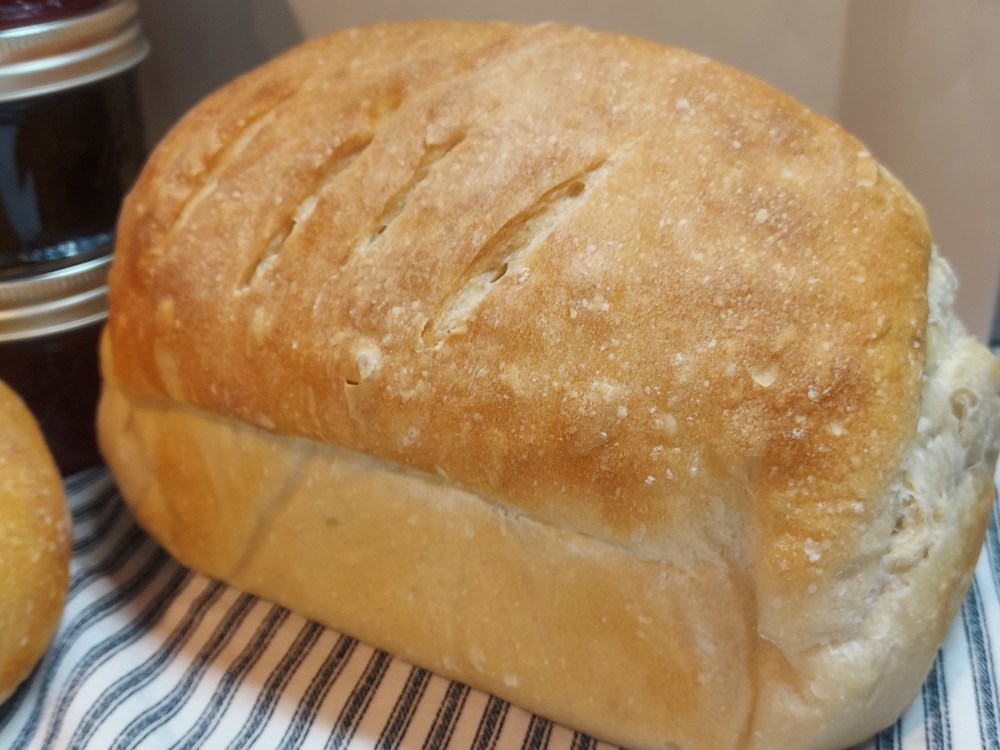
Everyday Sour Dough
- 1 cup fed starter
- 3 cups of flour, I use Kirkland Organic All-Purpose Flour
- 1 tsp mineral or sea salt
- 1 1/4 cup filtered water (do not use municipal water)
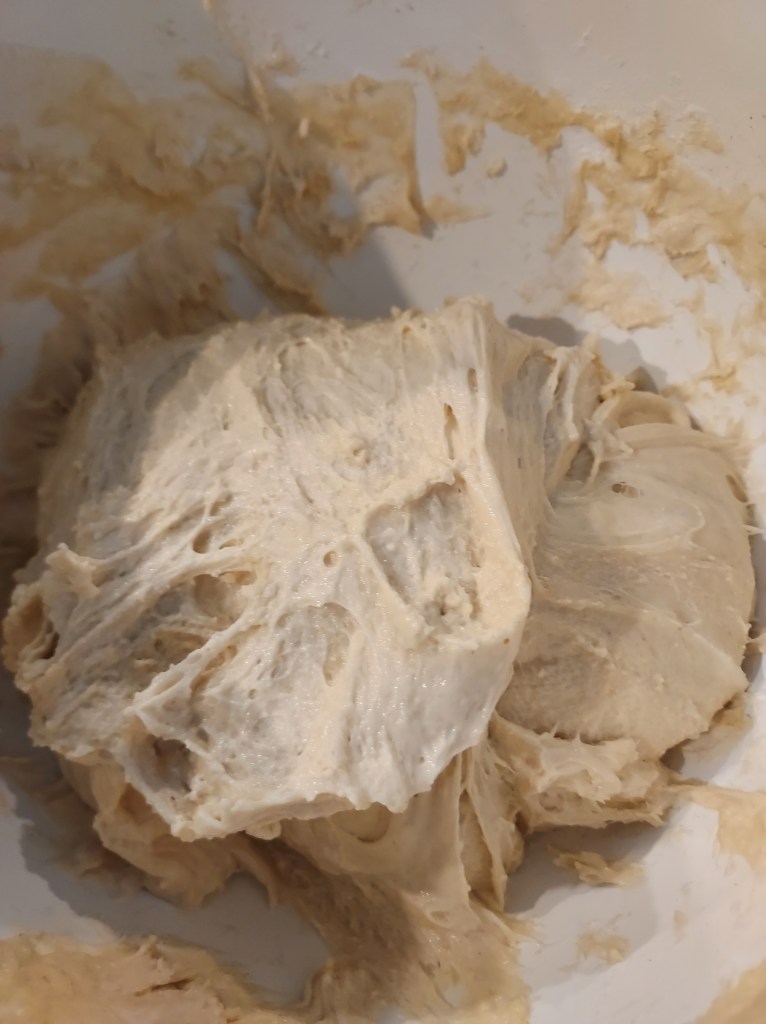
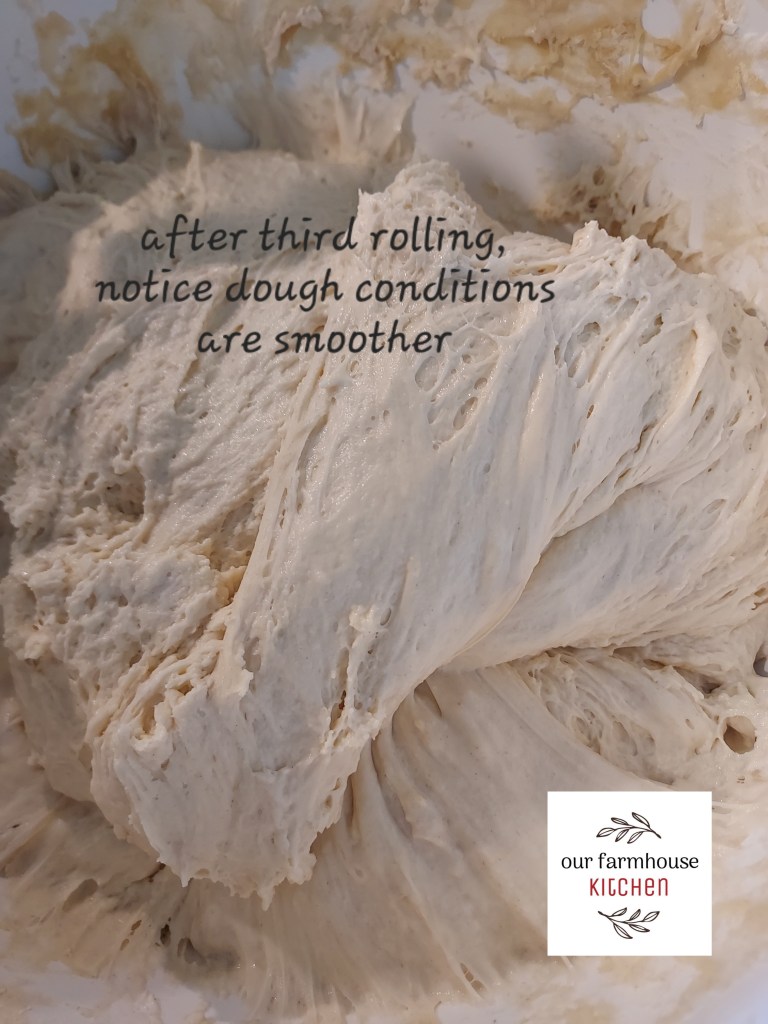
Mix. Dough will be rough. See picture below.
Cover with Plastic. Let dough sit for 1 hour or so. Then fold it, going around the outside of the bowl, until all dough has been turned.
Repeat this process for at least 4 times as it sits for the seven hours.


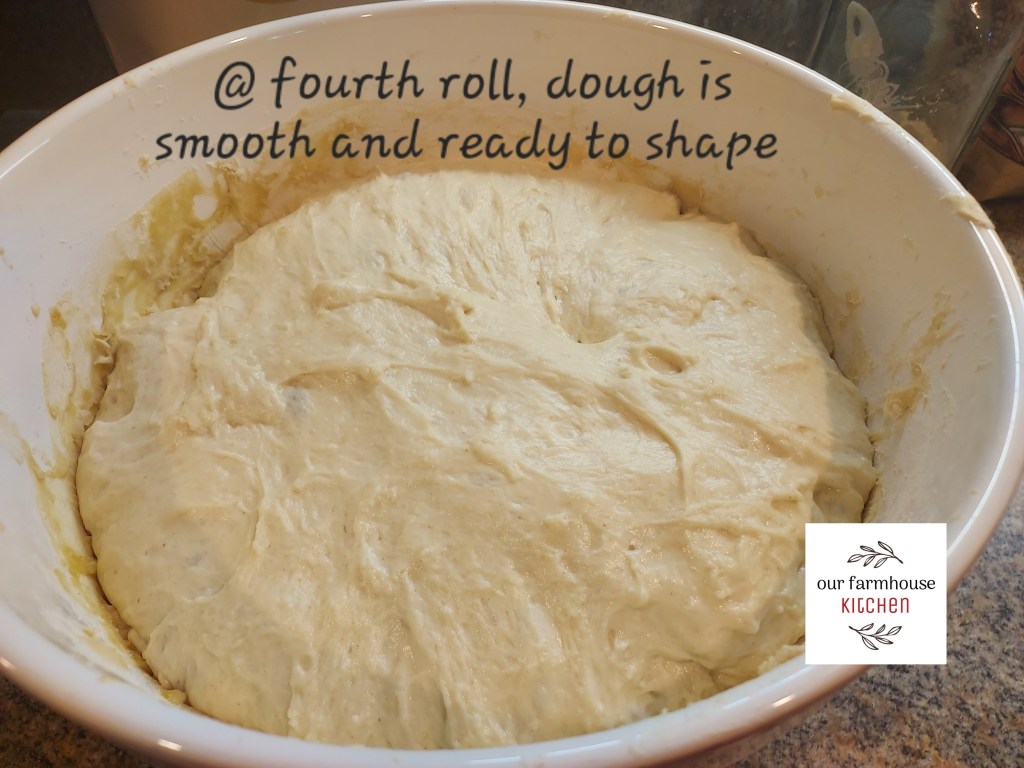

PLEASE NOTE. If I let it sit overnight, or I cannot turn it while sitting, I knead the rough dough for about 5 minutes. Then just let it sit. It will perform just fine. I did this yesterday. I had a busy day and needed to do a feed and hay run for the homestead. I made the bread. I kneaded it, then off I went. I got home 5 hours later! I turned it one more time and back outside. It sat 3 more hours before I set it up in pans to proof. It has to be that simple for me!
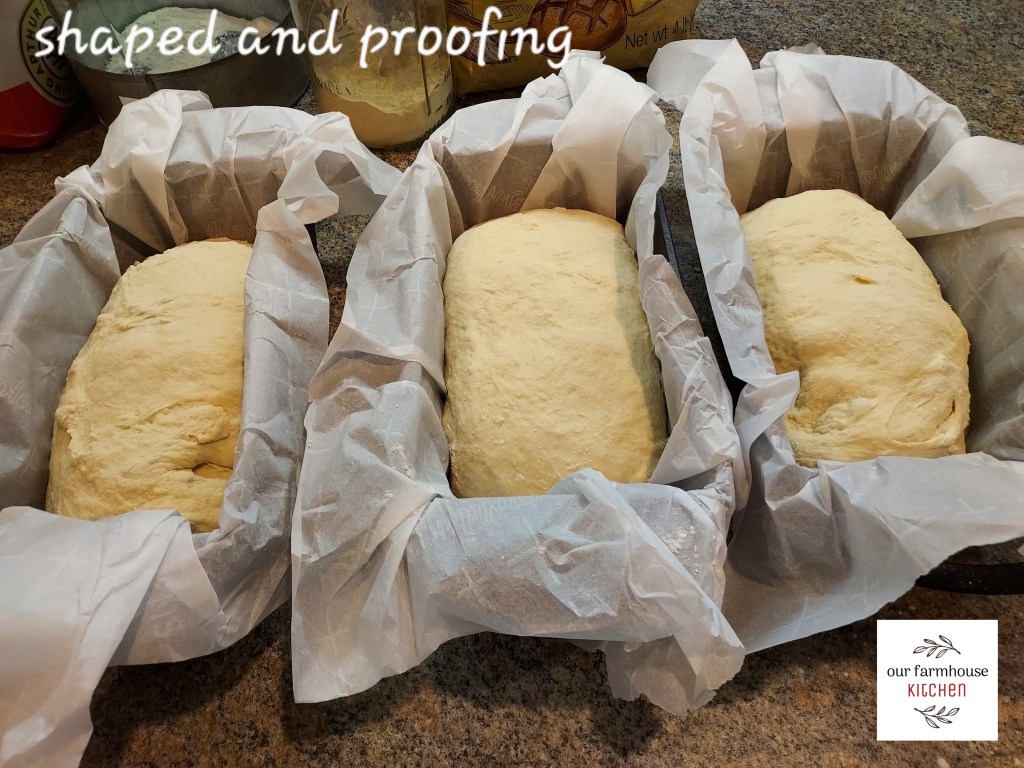
Once dough is fermented, separate to your parchment lined loaf pans.
I proof for about 20 minutes. Score the top. I do forget sometimes, and it is fine. Just not so pretty without a pattern.
Bake 425 degrees for 30 minutes.
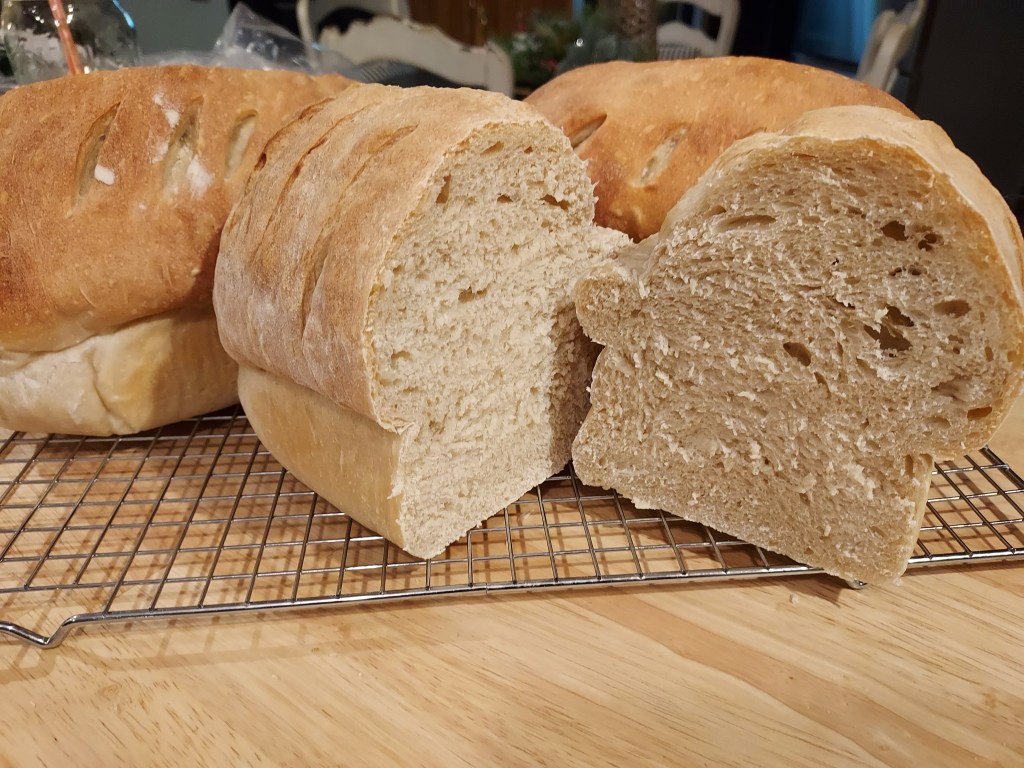
It should sound hollow. You can also temperature test it to be 190-200 degrees in the center. I don’t. I just tap the top but if you are not sure, take the temperature.
Place on cooling rack with a towel over it. My daughter likes very soft crust and I have found, this keeps the crust soft.
That’s it!!!
That is how I do my bread!
Happy sourdoughing! I hope this makes you relaxed and excited about your sour dough journey.
Until Next Time,
Farmgirl Jo

My love for sourdough goes beyond bread.


Other Tips & Tricks on This Dough:
- Makes YUMMY pizza crust. Just reserve the amount you want, toss in fridge and use within a few days.
- Cinnamon Raisin Bread: Add cinnamon, stevia and a few raisins. Bake as above.
- Cranberry Spice Bread: Add no sugar added dried cranberries, a sprinkle of nutmeg, ground clove, cinnamon, and stevia. Bake as above.
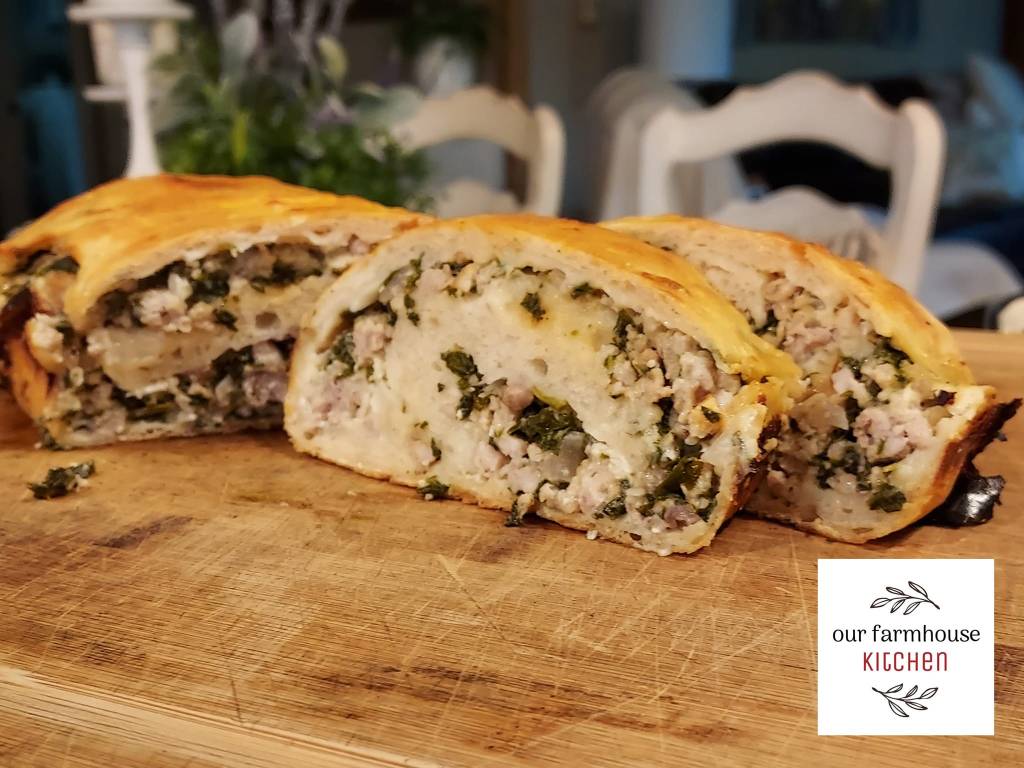
- Savory Loaf – roll it out, stuff with herbs and desired meat (precooked and drained), cheese and serve with a salad. Bake savory loaf about 50 minutes to 60 minutes.
As you can see, this sourdough serves a lot of purpose on this homestead.
#candjhomestead #ourfarmhousekitchen #lifeanddesign #homesteadingmama #homesteadinginthehills #kyhomestead #morningswithfarmgirljo #healthylivingwithfarmgirljo #farmlife #bakery #homesteading #cooking #baking #sourdough
Please like, follow, and share our posts!
Faith. Family. Farm. Food.
https://www.facebook.com/ourfarmhousekitchen
https://www.instagram.com/ourfarmhousekitchen/

